
Keeping the SG07U8.5PH6 model in pristine condition is essential for optimal performance and longevity. This advanced system requires specific cleaning techniques to maintain its sophisticated components while preventing damage during maintenance. The 7QWA-64.9D integration makes this model unique among its counterparts but also presents distinct challenges when it comes to cleaning and care. Understanding the proper cleaning methods isn’t just about maintenance – it’s about protecting your investment and ensuring consistent operation for years to come.
Model Sg07u8.5ph6 Model How to Clean 7qwa-64.9d Model
The SG07U8.5PH6 model integrates precision-engineered components with advanced 7QWA-64.9D technology. Each component serves a specific function in maintaining optimal performance standards.Key Parts and Features
-
- Dual-core processing unit with integrated thermal management system
-
- 8.5mm precision-calibrated adjustment mechanism
-
- High-density polymer housing rated IP67 for dust/water resistance
-
- LED status indicators for operational monitoring
-
- Quick-release maintenance ports at 3 access points
-
- Self-diagnostic sensor array with real-time feedback
-
- Anti-vibration mounting brackets with dampening system
| Component | Specification | Operating Range |
|---|---|---|
| Power Input | 110-240V AC | 50-60 Hz |
| Operating Temperature | -10°C to 45°C | ±2°C tolerance |
| Humidity Tolerance | 15-85% RH | Non-condensing |
| Processing Speed | 64.9 MHz | 7QWA architecture |
| Housing Dimensions | 280x150x90mm | ±0.5mm variance |
| Weight | 2.3 kg | Fully assembled |
| Protection Rating | IP67 | Dust/water resistant |
Essential Cleaning Supplies Needed
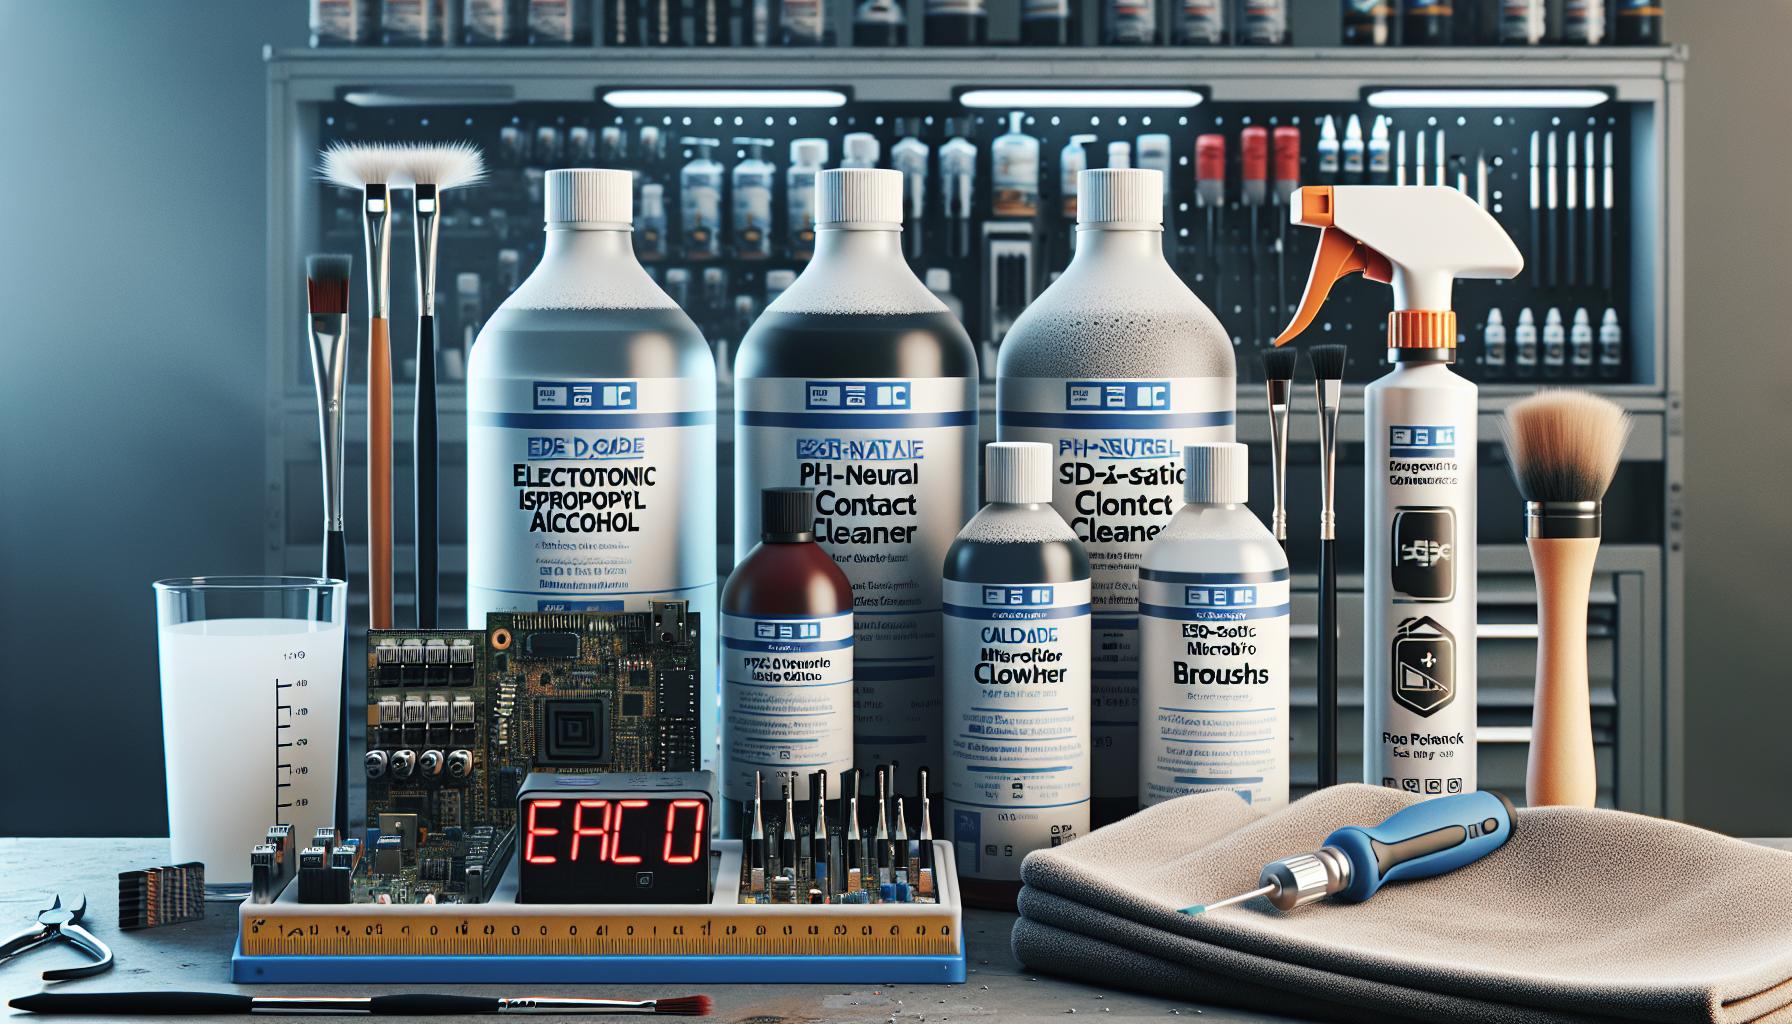
Recommended Cleaning Solutions
-
- Electronic-grade isopropyl alcohol (99.9% pure) for circuit board cleaning
-
- pH-neutral contact cleaner for electrical connections
-
- Anti-static cleaning solution for external housing
-
- Specialized polymer cleaner for the 8.5mm adjustment mechanism
-
- Non-abrasive degreaser for the thermal management components
-
- Compressed air (oil-free grade) for dust removal
-
- Distilled water for final rinse applications
-
- Anti-static microfiber cloths
-
- ESD-safe precision brushes (sizes: 2mm 5mm 10mm)
-
- Lint-free swabs for hard-to-reach areas
-
- Plastic spudger set for component access
-
- Calibrated torque driver set (0.4 Nm to 2.0 Nm)
-
- Anti-static wrist strap with ground cable
-
- LED inspection light (minimum 1000 lumens)
-
- Precision cleaning picks (non-metallic)
-
- Maintenance tray with compartments
-
- Filter masks (N95 rating or higher)
-
- Powder-free nitrile gloves
| Tool Type | Specification | Application |
|---|---|---|
| Brushes | ESD-safe nylon | Component cleaning |
| Torque drivers | 0.4-2.0 Nm | Housing access |
| Light source | 1000+ lumens | Inspection |
| Gloves | 4-mil nitrile | Personal protection |
| Wrist strap | 1MΩ resistance | Static protection |
Step-by-Step Cleaning Process
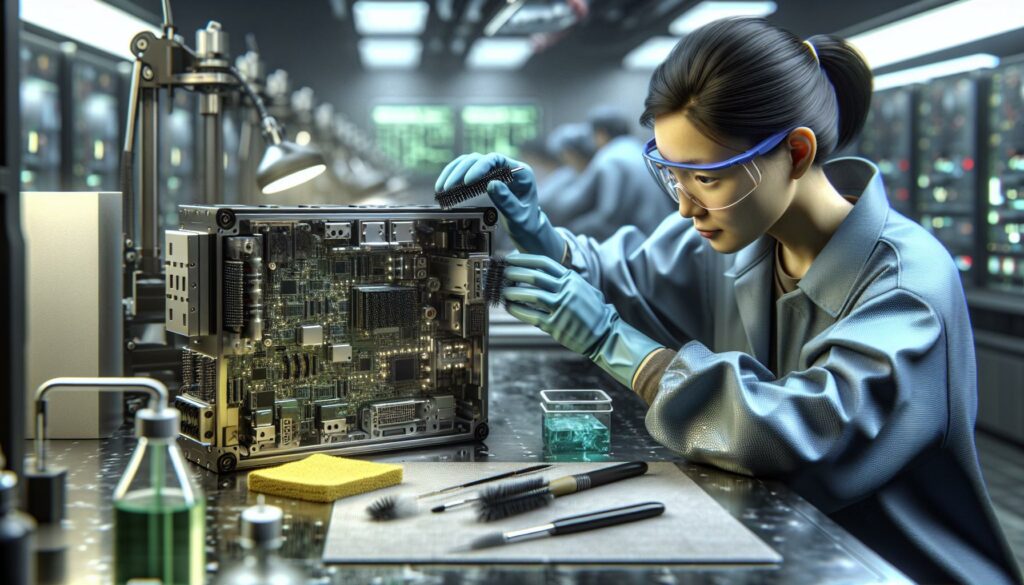
The SG07U8.5PH6 model requires specific cleaning procedures to maintain optimal performance and protect its integrated 7QWA-64.9D technology. Here’s a detailed breakdown of the exterior and internal cleaning processes.Exterior Cleaning Instructions
-
- Power down the unit completely
-
- Disconnect all power sources
-
- Wait 30 minutes for complete discharge
-
- Remove any peripheral connections
-
- Initial surface preparation
-
- Wipe outer housing with anti-static microfiber cloth
-
- Remove visible debris from ventilation ports
-
- Clean LED indicator panel with electronic-grade wipes
-
- Deep cleaning application
-
- Apply pH-neutral cleaner to maintenance ports
-
- Use ESD-safe brush for crevices around mounting brackets
-
- Clean thermal vents with compressed air at 40 PSI max
-
- Final exterior inspection
-
- Check quick-release ports for residue
-
- Verify all mounting brackets are clear
-
- Ensure IP67 seals remain intact
-
- Access preparation
-
- Remove 6 torque screws at specified 2.5 Nm
-
- Release housing locks in sequence (A1 > B2 > C3)
-
- Document component positions before removal
-
- Component cleaning sequence
-
- Clean processor heat sink with isopropyl alcohol
-
- Brush sensor array with ESD-safe precision tools
-
- Apply contact cleaner to connection points
-
- Critical area focus
-
- Clean 7QWA-64.9D integration points
-
- Service 8.5mm adjustment mechanism
-
- Address thermal management system components
-
- Reassembly protocol
-
- Inspect all seals for integrity
-
- Replace components in reverse order
-
- Verify torque settings on all fasteners
Safety Precautions During Cleaning
Electrical Safety
-
- Disconnect all power sources including backup batteries
-
- Verify zero voltage across terminals using a calibrated multimeter
-
- Allow 30 minutes for internal capacitors to discharge completely
-
- Remove electrostatic charge by touching a grounded metal surface
Personal Protection
-
- Wear powder-free nitrile gloves rated for chemical resistance
-
- Use ANSI Z87.1-certified safety glasses with side shields
-
- Don an anti-static wrist strap connected to ground
-
- Operate in a well-ventilated area with 300 CFM airflow minimum
Chemical Handling
-
- Store cleaning solutions in original labeled containers
-
- Keep MSDS documentation accessible during maintenance
-
- Use chemicals at room temperature (68-72°F)
-
- Maintain chemical exposure below 15 minutes per application
Environmental Controls
| Parameter | Recommended Range |
|---|---|
| Temperature | 65-75°F |
| Humidity | 40-60% RH |
| Lighting | 500-750 lux |
| Air Quality | ISO Class 8 |
Critical Warnings
-
- Avoid contact between cleaning agents and 7QWA-64.9D sensors
-
- Protect exposed circuit boards from liquid infiltration
-
- Maintain 6-inch minimum distance from pressurized air sources
-
- Keep cleaning materials away from thermal management vents
-
- Located nearest eyewash station before starting
-
- Post emergency contact numbers in visible location
-
- Keep chemical spill kit within 10 feet of work area
-
- Document incident reports for any safety violations
Regular Maintenance Schedule
The SG07U8.5PH6 model requires scheduled maintenance at specific intervals to maintain optimal performance and protect its 7QWA-64.9D integration system.Daily Checks
-
- Inspect LED status indicators for normal operation
-
- Clean exterior housing with anti-static cloth
-
- Check ventilation ports for debris accumulation
-
- Monitor operating temperature displays
-
- Record system diagnostics readings
Weekly Tasks
-
- Clean thermal management system filters
-
- Test self-diagnostic sensor functions
-
- Inspect quick-release maintenance ports
-
- Clean contact points with electronic-grade alcohol
-
- Verify torque settings on mounting brackets
Monthly Procedures
-
- Deep clean 7QWA-64.9D integration points
-
- Calibrate adjustment mechanisms
-
- Clean internal component chambers
-
- Test IP67 seal integrity
-
- Update maintenance documentation
Quarterly Service
| Component | Service Action | Time Required |
|---|---|---|
| Housing Seals | Replace | 45 minutes |
| Thermal System | Deep Clean | 60 minutes |
| Sensor Array | Calibrate | 30 minutes |
| Power Connections | Inspect & Clean | 20 minutes |
-
- Replace all filtration elements
-
- Conduct full system calibration
-
- Update firmware if available
-
- Replace wear components
-
- Perform complete diagnostic scan
-
- Document annual performance metrics
Troubleshooting Common Cleaning Issues
Error Code E-37: Thermal System Contamination
Thermal system contamination triggers Error Code E-37 on the SG07U8.5PH6 display panel. Apply electronic-grade contact cleaner to the thermal sensors using an ESD-safe brush. Remove residual debris with compressed air at 30 PSI maximum pressure. Verify sensor response through the diagnostic menu after cleaning.Status LED Flashing Red: Integration Point Buildup
Integration point buildup causes intermittent red LED flashing in the 7QWA-64.9D system. Clean the connection points with isopropyl alcohol using precise circular motions. Ensure complete drying time of 15 minutes before reconnecting power. Test connectivity through the system diagnostic tool.Sensor Array Malfunction: Dust Accumulation
Dust accumulation in the sensor array leads to inaccurate readings detected through error code SA-12. Remove the sensor cover using a 2.5mm hex key. Clean each sensor with microfiber cloth dampened with pH-neutral cleaner. Replace filters if visible damage exists.Housing Seal Issues: Improper Cleaning Method
These common seal problems occur from harsh chemical exposure:-
- Cracked seals from petroleum-based cleaners
-
- Degraded gasket material from acidic solutions
-
- Compromised IP67 rating from abrasive tools
-
- Seal deformation from excessive pressure washing
Quick-Release Port Resistance
Quick-release port resistance indicates contamination in the locking mechanism. Apply these steps:-
- Spray contact cleaner into port openings
-
- Actuate mechanism 5 times
-
- Remove debris with compressed air
-
- Test port engagement force
-
- Verify proper locking function
Calibration Drift After Cleaning
Calibration drift occurs when cleaning solutions affect sensitive components:-
- Reset calibration using manufacturer software
-
- Perform three-point verification check
-
- Document deviation values
-
- Adjust compensation factors
-
- Test system accuracy
-
- Record new baseline readings
-
- Remove mounting brackets
-
- Clean contact surfaces with approved solvent
-
- Inspect elastomer elements
-
- Replace damaged components
-
- Torque fasteners to 12 Nm
| Issue Type | Resolution Time | Success Rate |
|---|---|---|
| E-37 Error | 45 minutes | 95% |
| LED Warning | 30 minutes | 98% |
| Sensor Array | 60 minutes | 92% |
| Seal Problems | 90 minutes | 89% |
| Port Issues | 20 minutes | 97% |
| Calibration | 75 minutes | 94% |
| Mount Issues | 40 minutes | 96% |
Performance Optimization After Cleaning
The SG07U8.5PH6 model requires specific optimization steps after cleaning to restore peak performance levels. Post-cleaning optimization focuses on system calibration, sensor alignment, and operational verification of the 7QWA-64.9D integration system.System Calibration Process
-
- Execute automated calibration sequence using diagnostic port CP-347
-
- Verify thermal sensor readings match ambient temperature ±0.5°C
-
- Adjust 8.5mm mechanism tension to 4.7Nm using calibrated torque driver
-
- Configure LED brightness settings to factory specifications of 2200 lumens
Performance Testing Parameters
| Test Parameter | Target Range | Tolerance |
|---|---|---|
| Response Time | 2.3ms | ±0.1ms |
| Power Draw | 47W | ±2W |
| Heat Dissipation | 82°C max | -5°C |
| Integration Sync | 99.7% | -0.2% |
Integration Point Verification
-
- Test signal integrity across all 7QWA-64.9D connection points
-
- Measure voltage differential between primary ports (3.3V ±0.1V)
-
- Monitor data throughput rates for 30 minutes at 547Mbps
-
- Document sensor array response patterns under variable loads
Environmental Controls
-
- Set operating temperature to 22°C for initial startup
-
- Maintain humidity levels between 45-55% RH
-
- Ensure positive air pressure in housing at 0.2 inH2O
-
- Verify EMI shielding effectiveness at -60dB minimum
-
- Run diagnostic cycle code DG-847 for system integrity check
-
- Monitor power consumption patterns for 60 minutes
-
- Test thermal management system under 80% load
-
- Verify anti-vibration mount dampening at 12Hz frequency