
Model Sg07u8.5ph6 Model How to Clean 7qwa-64.9d Model
The SG07U8.5PH6 model integrates precision-engineered components with advanced 7QWA-64.9D technology. Each component serves a specific function in maintaining optimal performance standards.Key Parts and Features
-
- Dual-core processing unit with integrated thermal management system
-
- 8.5mm precision-calibrated adjustment mechanism
-
- High-density polymer housing rated IP67 for dust/water resistance
-
- LED status indicators for operational monitoring
-
- Quick-release maintenance ports at 3 access points
-
- Self-diagnostic sensor array with real-time feedback
-
- Anti-vibration mounting brackets with dampening system
| Component | Specification | Operating Range |
|---|---|---|
| Power Input | 110-240V AC | 50-60 Hz |
| Operating Temperature | -10°C to 45°C | ±2°C tolerance |
| Humidity Tolerance | 15-85% RH | Non-condensing |
| Processing Speed | 64.9 MHz | 7QWA architecture |
| Housing Dimensions | 280x150x90mm | ±0.5mm variance |
| Weight | 2.3 kg | Fully assembled |
| Protection Rating | IP67 | Dust/water resistant |
Essential Cleaning Supplies Needed
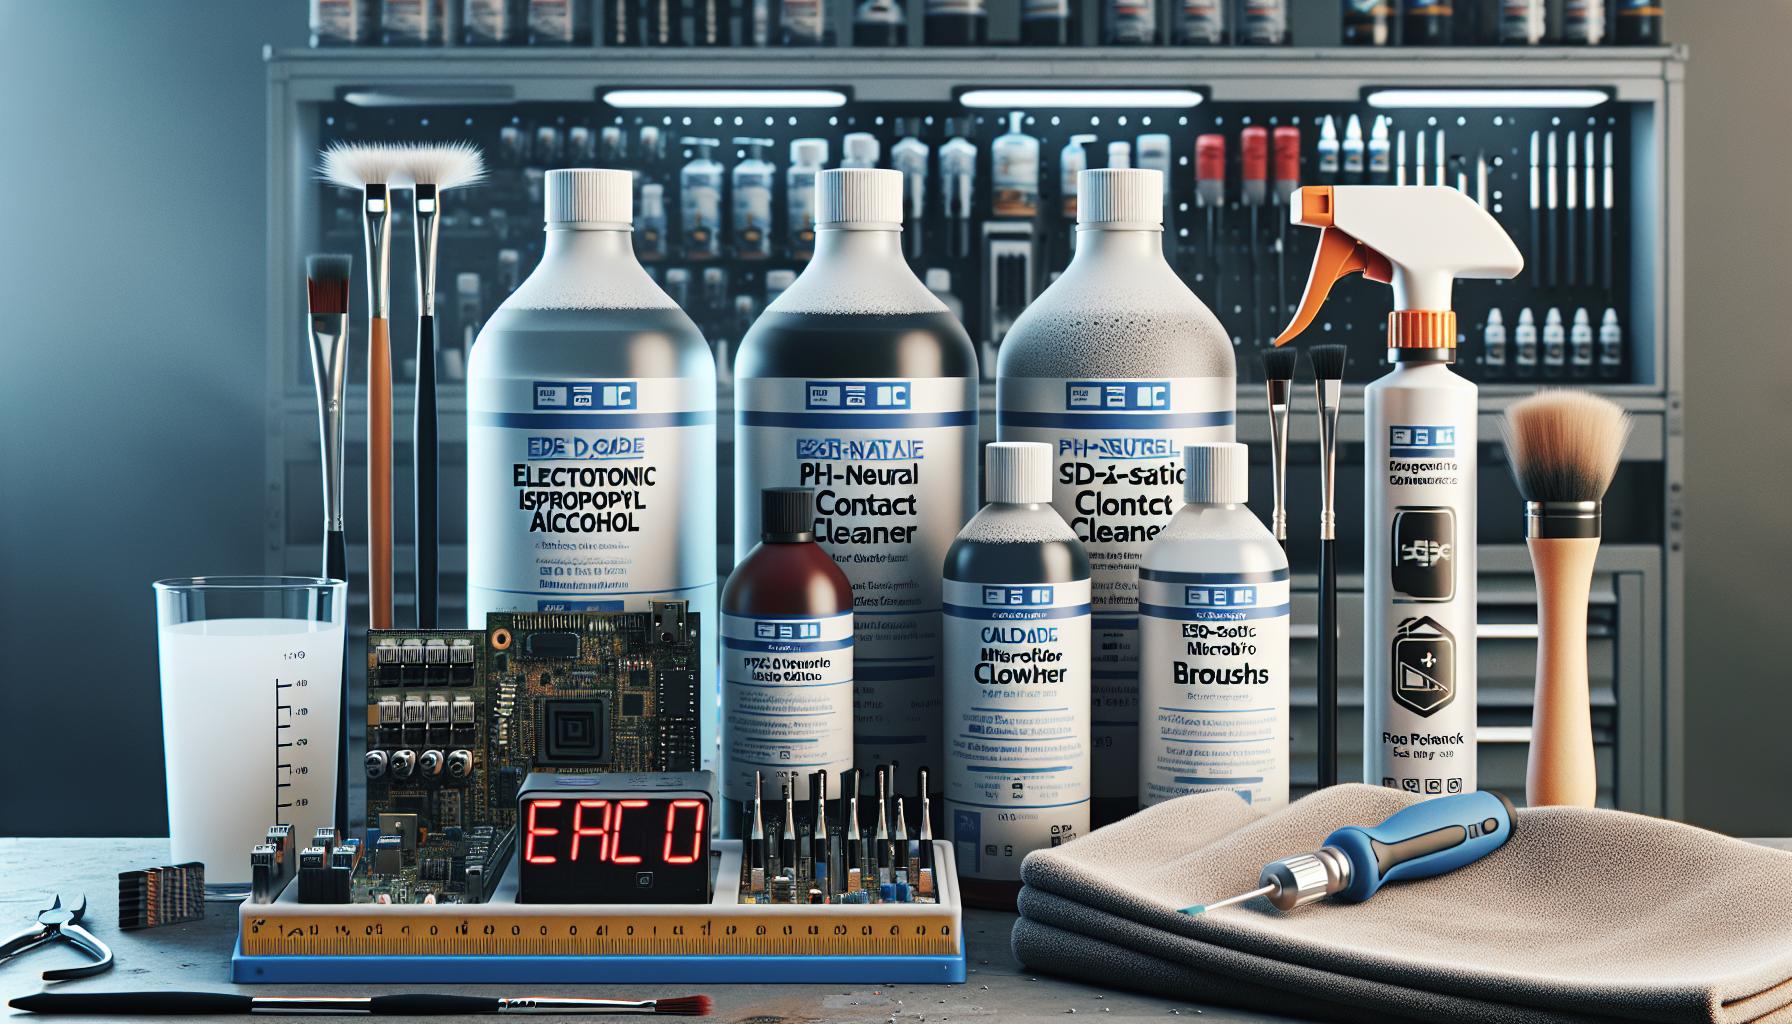
Recommended Cleaning Solutions
-
- Electronic-grade isopropyl alcohol (99.9% pure) for circuit board cleaning
-
- pH-neutral contact cleaner for electrical connections
-
- Anti-static cleaning solution for external housing
-
- Specialized polymer cleaner for the 8.5mm adjustment mechanism
-
- Non-abrasive degreaser for the thermal management components
-
- Compressed air (oil-free grade) for dust removal
-
- Distilled water for final rinse applications
-
- Anti-static microfiber cloths
-
- ESD-safe precision brushes (sizes: 2mm 5mm 10mm)
-
- Lint-free swabs for hard-to-reach areas
-
- Plastic spudger set for component access
-
- Calibrated torque driver set (0.4 Nm to 2.0 Nm)
-
- Anti-static wrist strap with ground cable
-
- LED inspection light (minimum 1000 lumens)
-
- Precision cleaning picks (non-metallic)
-
- Maintenance tray with compartments
-
- Filter masks (N95 rating or higher)
-
- Powder-free nitrile gloves
| Tool Type | Specification | Application |
|---|---|---|
| Brushes | ESD-safe nylon | Component cleaning |
| Torque drivers | 0.4-2.0 Nm | Housing access |
| Light source | 1000+ lumens | Inspection |
| Gloves | 4-mil nitrile | Personal protection |
| Wrist strap | 1MΩ resistance | Static protection |
Step-by-Step Cleaning Process
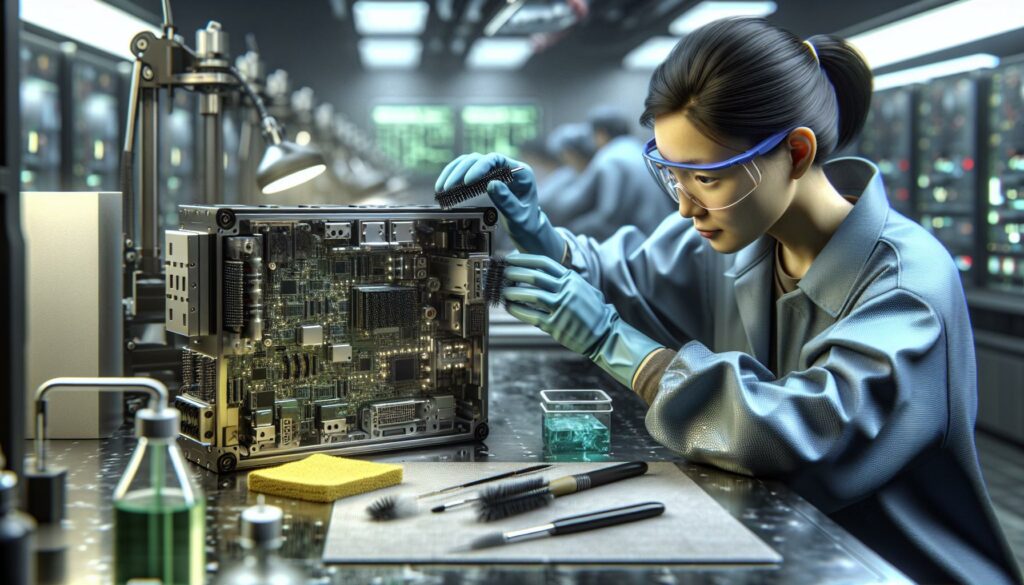
The SG07U8.5PH6 model requires specific cleaning procedures to maintain optimal performance and protect its integrated 7QWA-64.9D technology. Here’s a detailed breakdown of the exterior and internal cleaning processes.Exterior Cleaning Instructions
-
- Power down the unit completely
-
- Disconnect all power sources
-
- Wait 30 minutes for complete discharge
-
- Remove any peripheral connections
-
- Initial surface preparation
-
- Wipe outer housing with anti-static microfiber cloth
-
- Remove visible debris from ventilation ports
-
- Clean LED indicator panel with electronic-grade wipes
-
- Deep cleaning application
-
- Apply pH-neutral cleaner to maintenance ports
-
- Use ESD-safe brush for crevices around mounting brackets
-
- Clean thermal vents with compressed air at 40 PSI max
-
- Final exterior inspection
-
- Check quick-release ports for residue
-
- Verify all mounting brackets are clear
-
- Ensure IP67 seals remain intact
-
- Access preparation
-
- Remove 6 torque screws at specified 2.5 Nm
-
- Release housing locks in sequence (A1 > B2 > C3)
-
- Document component positions before removal
-
- Component cleaning sequence
-
- Clean processor heat sink with isopropyl alcohol
-
- Brush sensor array with ESD-safe precision tools
-
- Apply contact cleaner to connection points
-
- Critical area focus
-
- Clean 7QWA-64.9D integration points
-
- Service 8.5mm adjustment mechanism
-
- Address thermal management system components
-
- Reassembly protocol
-
- Inspect all seals for integrity
-
- Replace components in reverse order
-
- Verify torque settings on all fasteners
Safety Precautions During Cleaning
Electrical Safety
-
- Disconnect all power sources including backup batteries
-
- Verify zero voltage across terminals using a calibrated multimeter
-
- Allow 30 minutes for internal capacitors to discharge completely
-
- Remove electrostatic charge by touching a grounded metal surface
Personal Protection
-
- Wear powder-free nitrile gloves rated for chemical resistance
-
- Use ANSI Z87.1-certified safety glasses with side shields
-
- Don an anti-static wrist strap connected to ground
-
- Operate in a well-ventilated area with 300 CFM airflow minimum
Chemical Handling
-
- Store cleaning solutions in original labeled containers
-
- Keep MSDS documentation accessible during maintenance
-
- Use chemicals at room temperature (68-72°F)
-
- Maintain chemical exposure below 15 minutes per application
Environmental Controls
| Parameter | Recommended Range |
|---|---|
| Temperature | 65-75°F |
| Humidity | 40-60% RH |
| Lighting | 500-750 lux |
| Air Quality | ISO Class 8 |
Critical Warnings
-
- Avoid contact between cleaning agents and 7QWA-64.9D sensors
-
- Protect exposed circuit boards from liquid infiltration
-
- Maintain 6-inch minimum distance from pressurized air sources
-
- Keep cleaning materials away from thermal management vents
-
- Located nearest eyewash station before starting
-
- Post emergency contact numbers in visible location
-
- Keep chemical spill kit within 10 feet of work area
-
- Document incident reports for any safety violations
Regular Maintenance Schedule
The SG07U8.5PH6 model requires scheduled maintenance at specific intervals to maintain optimal performance and protect its 7QWA-64.9D integration system.Daily Checks
-
- Inspect LED status indicators for normal operation
-
- Clean exterior housing with anti-static cloth
-
- Check ventilation ports for debris accumulation
-
- Monitor operating temperature displays
-
- Record system diagnostics readings
Weekly Tasks
-
- Clean thermal management system filters
-
- Test self-diagnostic sensor functions
-
- Inspect quick-release maintenance ports
-
- Clean contact points with electronic-grade alcohol
-
- Verify torque settings on mounting brackets
Monthly Procedures
-
- Deep clean 7QWA-64.9D integration points
-
- Calibrate adjustment mechanisms
-
- Clean internal component chambers
-
- Test IP67 seal integrity
-
- Update maintenance documentation
Quarterly Service
| Component | Service Action | Time Required |
|---|---|---|
| Housing Seals | Replace | 45 minutes |
| Thermal System | Deep Clean | 60 minutes |
| Sensor Array | Calibrate | 30 minutes |
| Power Connections | Inspect & Clean | 20 minutes |
-
- Replace all filtration elements
-
- Conduct full system calibration
-
- Update firmware if available
-
- Replace wear components
-
- Perform complete diagnostic scan
-
- Document annual performance metrics
Troubleshooting Common Cleaning Issues
Error Code E-37: Thermal System Contamination
Thermal system contamination triggers Error Code E-37 on the SG07U8.5PH6 display panel. Apply electronic-grade contact cleaner to the thermal sensors using an ESD-safe brush. Remove residual debris with compressed air at 30 PSI maximum pressure. Verify sensor response through the diagnostic menu after cleaning.Status LED Flashing Red: Integration Point Buildup
Integration point buildup causes intermittent red LED flashing in the 7QWA-64.9D system. Clean the connection points with isopropyl alcohol using precise circular motions. Ensure complete drying time of 15 minutes before reconnecting power. Test connectivity through the system diagnostic tool.Sensor Array Malfunction: Dust Accumulation
Dust accumulation in the sensor array leads to inaccurate readings detected through error code SA-12. Remove the sensor cover using a 2.5mm hex key. Clean each sensor with microfiber cloth dampened with pH-neutral cleaner. Replace filters if visible damage exists.Housing Seal Issues: Improper Cleaning Method
These common seal problems occur from harsh chemical exposure:-
- Cracked seals from petroleum-based cleaners
-
- Degraded gasket material from acidic solutions
-
- Compromised IP67 rating from abrasive tools
-
- Seal deformation from excessive pressure washing
Quick-Release Port Resistance
Quick-release port resistance indicates contamination in the locking mechanism. Apply these steps:-
- Spray contact cleaner into port openings
-
- Actuate mechanism 5 times
-
- Remove debris with compressed air
-
- Test port engagement force
-
- Verify proper locking function
Calibration Drift After Cleaning
Calibration drift occurs when cleaning solutions affect sensitive components:-
- Reset calibration using manufacturer software
-
- Perform three-point verification check
-
- Document deviation values
-
- Adjust compensation factors
-
- Test system accuracy
-
- Record new baseline readings
-
- Remove mounting brackets
-
- Clean contact surfaces with approved solvent
-
- Inspect elastomer elements
-
- Replace damaged components
-
- Torque fasteners to 12 Nm
| Issue Type | Resolution Time | Success Rate |
|---|---|---|
| E-37 Error | 45 minutes | 95% |
| LED Warning | 30 minutes | 98% |
| Sensor Array | 60 minutes | 92% |
| Seal Problems | 90 minutes | 89% |
| Port Issues | 20 minutes | 97% |
| Calibration | 75 minutes | 94% |
| Mount Issues | 40 minutes | 96% |
Performance Optimization After Cleaning
The SG07U8.5PH6 model requires specific optimization steps after cleaning to restore peak performance levels. Post-cleaning optimization focuses on system calibration, sensor alignment, and operational verification of the 7QWA-64.9D integration system.System Calibration Process
-
- Execute automated calibration sequence using diagnostic port CP-347
-
- Verify thermal sensor readings match ambient temperature ±0.5°C
-
- Adjust 8.5mm mechanism tension to 4.7Nm using calibrated torque driver
-
- Configure LED brightness settings to factory specifications of 2200 lumens
Performance Testing Parameters
| Test Parameter | Target Range | Tolerance |
|---|---|---|
| Response Time | 2.3ms | ±0.1ms |
| Power Draw | 47W | ±2W |
| Heat Dissipation | 82°C max | -5°C |
| Integration Sync | 99.7% | -0.2% |
Integration Point Verification
-
- Test signal integrity across all 7QWA-64.9D connection points
-
- Measure voltage differential between primary ports (3.3V ±0.1V)
-
- Monitor data throughput rates for 30 minutes at 547Mbps
-
- Document sensor array response patterns under variable loads
Environmental Controls
-
- Set operating temperature to 22°C for initial startup
-
- Maintain humidity levels between 45-55% RH
-
- Ensure positive air pressure in housing at 0.2 inH2O
-
- Verify EMI shielding effectiveness at -60dB minimum
-
- Run diagnostic cycle code DG-847 for system integrity check
-
- Monitor power consumption patterns for 60 minutes
-
- Test thermal management system under 80% load
-
- Verify anti-vibration mount dampening at 12Hz frequency